

Have you ever wondered if a small tool can truly change your baby's care? A dependable thermometer gives you more than just a reading, it brings you peace of mind. Imagine a gentle helper that quietly checks your little one’s health, so you can spot a fever quickly. This trusted device makes it easier to ease your worries and keep your baby safe. In this post, we'll share why a good baby thermometer is an essential part of your daily care routine.
Choosing the Right Baby Thermometer: Features and Buying Guide
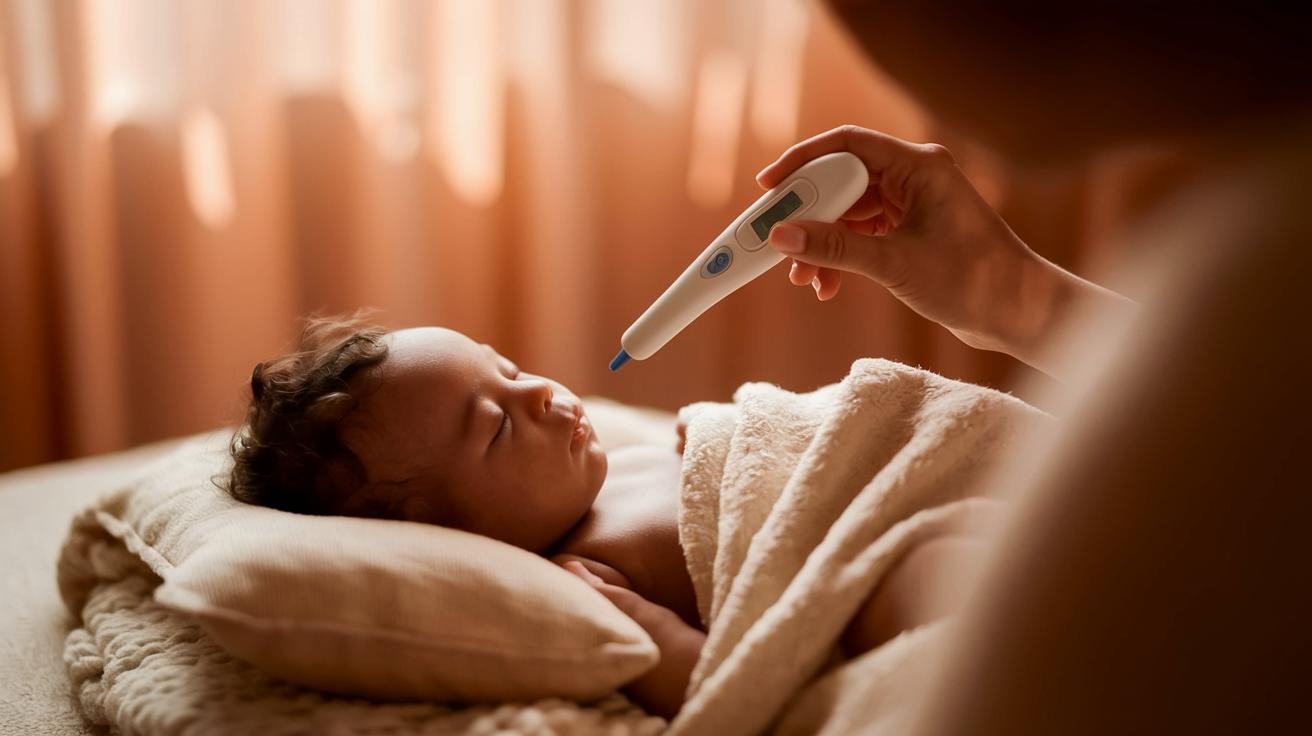
When it comes to your precious little one, even a one-degree difference can play a big role. For babies under six months, every tiny degree matters. Doctors have shown that a thermometer that gives a steady reading makes all the difference. I remember a pediatrician once saying, "A steady reading helps calm both you and your little one."
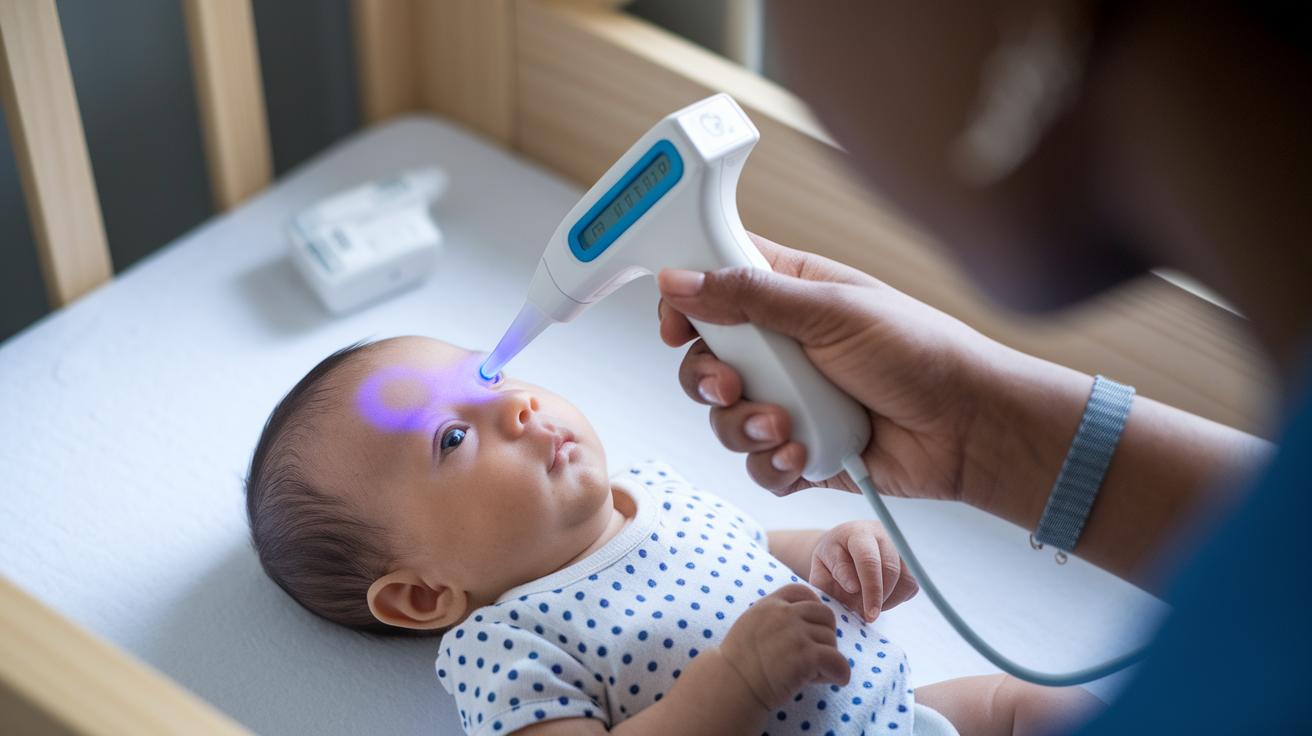
The way a thermometer measures temperature is just as important. Some use contactless infrared technology so you can check your baby from a short distance, perfect for when they're sleeping soundly. Others come with a little probe that gently touches the skin and gives a quick digital reading. And many modern models offer dual modes, letting you use either form, all with a simple button press that fits right into your daily routine.
A clear display and easy controls are essential, too. When you’re juggling a busy day, having a simple setup and a display that’s easy to read can really help. It means less fuss and more peace of mind when you need to check your baby’s temperature fast.
Budget is also a big part of the decision. Top models range from around $10 up to $45, so you can find one that suits your wallet without skimping on quality. Think of choosing a thermometer like picking out the perfect bedtime story, it should be simple, reliable, and just right for your baby.
Baby Thermometer Types Compared: Infrared, Digital, and Probe Models

Choosing the right thermometer for your baby doesn't have to be stressful. There are three main types designed to fit different needs, all with your little one’s comfort in mind.
First, noncontact infrared scanners give you a fast and gentle way to check your baby's temperature. They work from just one to three centimeters away and deliver results in only one or two seconds. Imagine a soft, quick peep that keeps your baby undisturbed during a nap or when they're feeling a bit fussy.
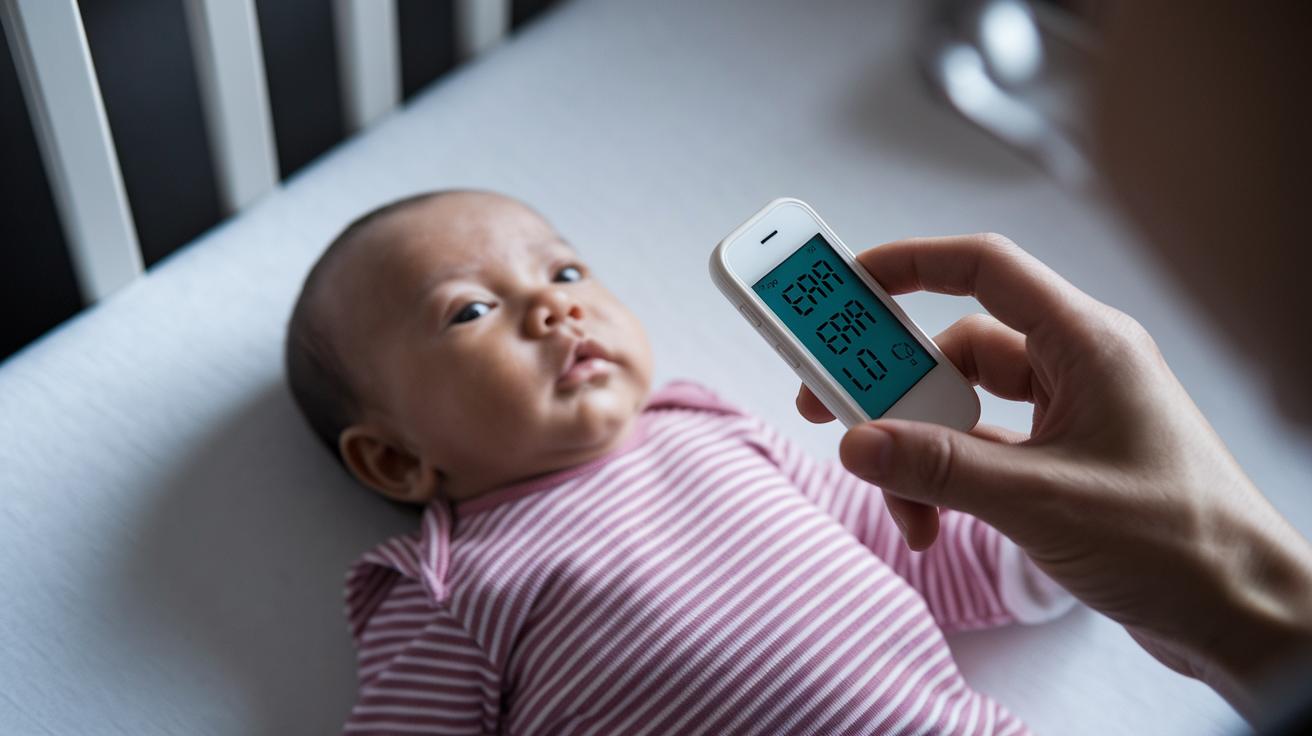
Next, digital probe units take a little longer, usually between 10 and 60 seconds, but they're loved for their pinpoint accuracy. Whether you're checking under the arm, in the mouth, or even rectally, these devices offer readings so precise (often within 0.1°F) that you can be confident in their results. It’s a great method for those times when every tiny detail matters.
Then there are dual-mode thermometers that give you the best of both worlds. You can start with the gentle, contact-free method and switch to the more precise digital probe setting when needed. It’s like having two reliable tools in one compact device, ready to meet your baby’s needs at any moment.
Here are some key points to remember:
- Noncontact infrared models: Quick readings with minimal fuss.
- Digital probe units: Slower but offer precise, clinically trusted measurements.
- Dual-mode designs: Flexible options that combine speed with accuracy.
Each thermometer fits different situations and age groups. When you choose one, consider how fast you need the reading, how precise the measurement must be, and how the design will keep your baby calm during the process.
How to Use a Baby Thermometer Safely and Accurately

Start by getting your baby thermometer ready. Before each use, gently clean the sensor tip with 70% isopropyl alcohol to remove any germs. A clean thermometer means accurate and safe readings.
Next, give the thermometer some time to warm up. Let it settle to room temperature, ideally between 65°F and 75°F. This simple step helps avoid any odd readings that a cold device might give.
For a contactless reading, hold the thermometer gently over the center of your baby’s forehead. Keep it close, about one to three centimeters away, to capture a quick, reliable reading in just one or two seconds. If you decide to check in the ear, make sure the sensor is placed properly inside the ear canal. Keeping your approach consistent is key to avoiding mix-ups in readings.
It’s a good idea to take the measurement at least three times and work out the average. This helps you tell if it’s just a brief temperature bump or if there really might be a fever. I usually jot down these readings on a simple chart, like saying, "At 2 p.m., the forehead temperature was 100°F." This way, you can easily spot any patterns over time.
And remember, a forehead reading of 100°F or more, or a rectal reading of 100.4°F or above, usually means your baby might have a fever. If you notice these numbers, it’s best to check in with your pediatrician for advice.
Top Baby Thermometer Models and Price Ranges

Choosing the perfect thermometer for your baby means finding a device that offers reliable results while fitting your family’s budget. We looked at these five models side-by-side with input from pediatric experts. Each one was carefully tested for being gentle on your baby and keeping readings within a small margin of error.
The Braun ThermoScan, at $45, earns high marks for its trustworthy ear readings. If you’re watching your wallet, the Vicks SpeedRead at $9.89 gives solid infrared measurements without a steep price. For those times when you need a quick check, the iHealth No-Touch at $23 offers the fastest no-contact reading, great for when your little one is snoozing. The Goodbaby Dual-Mode, available for $19.99, provides both probe and infrared options so you can choose what works best in the moment. And finally, the iProven Digital at $30 stands out for its easy single-button design, making it a breeze, even on hectic days.
| Model | Price | Key Feature |
|---|---|---|
| Braun ThermoScan | $45 | Trusted ear accuracy |
| Vicks SpeedRead | $9.89 | Budget-friendly infrared |
| iHealth No-Touch | $23 | Quick, contactless reading |
| Goodbaby Dual-Mode | $19.99 | Both probe and infrared options |
| iProven Digital | $30 | Simplified single-button design |
Maintaining Accuracy: Calibration, Cleaning, and Storage of Baby Thermometers

When it comes to caring for your little one, keeping the baby thermometer in top shape is essential. Experts suggest checking its calibration every 6 to 12 months. A simple way to do this is the ice-water method: fill a glass with ice and water, let it settle, and see if the thermometer shows around 32°F. If the reading is off, it might be time to have it professionally recalibrated.
Cleaning the thermometer is just as important. Before and after each use, gently wipe the sensor or probe with an alcohol wipe. Imagine it like softly cleaning a favorite toy; a few gentle swipes help keep germs at bay and ensure the readings stay true and friendly.
After using it, store the thermometer in its protective case at room temperature, keeping the humidity below 60% if possible. This little step helps prevent any moisture from throwing off the readings. And don’t forget, if you start seeing a low-power indicator, swap the batteries right away to avoid any slow or inaccurate responses.
Here’s a quick reminder of the key points:
- Check calibration every 6–12 months using the ice-water method or seek professional help if needed.
- Clean the sensor with alcohol wipes before and after each use.
- Store the thermometer in its case at room temperature with humidity under 60%.
- Replace batteries as soon as the low-power indicator appears.
Pediatrician Tips for Baby Thermometer Use and Fever Monitoring
When your little one is under 3 months old, most pediatricians suggest using a rectal thermometer since it offers the most accurate reading. As your baby grows a bit, you can switch to an infrared forehead scan. This gentle method gives a quick and reliable reading while keeping your baby comfortable.
Even a one-degree change can mean different things for your baby’s care, so it’s important to follow your pediatrician’s advice closely. When your baby isn’t feeling well, checking their temperature every four hours can help you see how they’re doing. You might even jot down each reading along with any symptoms, like recording little chapters in your baby’s daily journey, to spot any worrying patterns.
If your baby’s temperature rises above 104°F or stays high for more than 48 hours, it’s time to call your pediatrician. Taking action right away ensures that any serious changes get the attention they need. Keeping track of these numbers builds your confidence every time you chat with your trusted doctor about your baby’s health.
Baby Thermometer Troubleshooting: FAQs and Error Solutions
Using your baby thermometer can sometimes feel a bit worrisome when it shows unexpected errors. It’s not unusual for the reading to seem off if the thermometer isn’t held at the right spot, if the battery is running low, or if the sensor is a bit dirty. In some cases, extra light, especially with infrared models, can also play tricks on the readings. Common error messages like "Err" or "Lo" generally mean there’s something blocking the probe or the temperature is outside the safe range (below 32°F or above 212°F).
Here are some simple tips to help:
- If the sensor isn’t placed properly, try holding the thermometer steadily at the right distance.
- If the battery is feeling weak, switch it out for a fresh one.
- If dirt or debris is on the sensor, gently wipe it with an alcohol wipe.
- If bright lights are interfering, test the thermometer in a room with softer lighting.
If you still see errors, give the thermometer a little reset. Remove the batteries for about 30 seconds, reinsert them, and then check if the readings stabilize. A quick clean and regular battery checks can really make a difference. Trust your instincts by comparing the readings to normal standards, you deserve to feel secure about your baby’s health.
Final Words
In the action, our guide walked you through choosing and using a reliable baby thermometer. We explored different types, from infrared to digital probe units, and shared easy steps for safe usage, calibration, and storage. Pediatric tips and troubleshooting FAQs helped simplify everyday temperature checks for your little one. Each section aimed to make keeping your baby comfortable and safe feel natural and stress-free. Embrace the confidence that comes with accurate readings, and enjoy every small smile as you care for your precious one.
FAQ
How do I use a baby thermometer correctly at home?
Using a baby thermometer correctly means cleaning the sensor, letting the device come to room temperature, and placing it securely on the forehead, in the ear, or as directed on the label.
What is the best baby thermometer for my child?
The best baby thermometer depends on your needs; many parents favor infrared forehead models for their quick readings and minimal disturbance, while others value dual-mode models for versatile use.
Where can I find a baby thermometer, like at CVS or nearby stores?
Baby thermometers are widely available in local pharmacies, including CVS, and other stores that offer children’s health products.
How do forehead thermometers compare to oral readings?
Forehead thermometers offer fast, contactless readings, making them easier for infants, while oral methods require more time and cooperation and are typically used in older children.
How do I properly use an in-ear baby thermometer?
Using an in-ear thermometer involves gently placing the device in your baby’s ear canal as directed, ensuring a snug fit to capture a quick and accurate reading.
What do reviews from sources like Reddit and brands like Frida reveal about baby thermometers?
Reviews from Reddit and feedback on brands like Frida emphasize user-friendly design, accuracy, and comfort—helping parents decide which model meets their everyday needs.
